假期的后8天开了一门双学位的计算机课————Android程序设计,从早上8点一直到下午5点30,不定时的在群里发布课程签到,每次都倒霉的错过,于是在网上google有没有啥自动签到,可以救孩子,结果却发现全是上班族的钉钉打卡,算了那就自己搜搜轮子拼装一个吧,哈哈哈哈。遂有此拙劣文章。
用到的库:
import sys
from time import sleep
import tkinter as tk
import pyautogui
import pyscreeze
import cv2
import threading
import urllib.request as urllib
python实现思路:###
- 用opencv+pyscreeze扫描屏幕,找到"立即签到"四字所在位置。
- 计算中心点,pyautogui调用点击。
- 设置扫描屏幕时间,默认为30S扫描一次。
- tkinter编一个 丑陋 的可视窗口。

"立即签到"按钮长这个样子
敲代码:
import sys
from time import sleep
import tkinter as tk
import pyautogui
import pyscreeze
import cv2
import threading
import urllib.request as urllib
def method1():
# print("执行了方法1")
screenScale=1
target= cv2.imread(r'targe.png',cv2.IMREAD_GRAYSCALE)
screenshot=pyscreeze.screenshot('./my_screenshot.png')
temp = cv2.imread(r'my_screenshot.png',cv2.IMREAD_GRAYSCALE)
theight, twidth = target.shape[:2]
tempheight, tempwidth = temp.shape[:2]
print("目标图宽高:"+str(twidth)+"-"+str(theight))
print("模板图宽高:"+str(tempwidth)+"-"+str(tempheight))
scaleTemp=cv2.resize(temp, (int(tempwidth / screenScale), int(tempheight / screenScale)))
stempheight, stempwidth = scaleTemp.shape[:2]
print("缩放后模板图宽高:"+str(stempwidth)+"-"+str(stempheight))
res = cv2.matchTemplate(scaleTemp, target, cv2.TM_CCOEFF_NORMED)
mn_val, max_val, min_loc, max_loc = cv2.minMaxLoc(res)
if(max_val>=0.9):
# 计算出中心点
top_left = max_loc
bottom_right = (top_left[0] + twidth, top_left[1] + theight)
tagHalfW=int(twidth/2)
tagHalfH=int(theight/2)
tagCenterX=top_left[0]+tagHalfW
tagCenterY=top_left[1]+tagHalfH
#左键点击屏幕上的这个位置
pyautogui.click(tagCenterX,tagCenterY,button='left')
print("位置是:",tagCenterX,tagCenterY)
pyautogui.moveTo(tagCenterX-500, tagCenterY)
else:print("未发现")
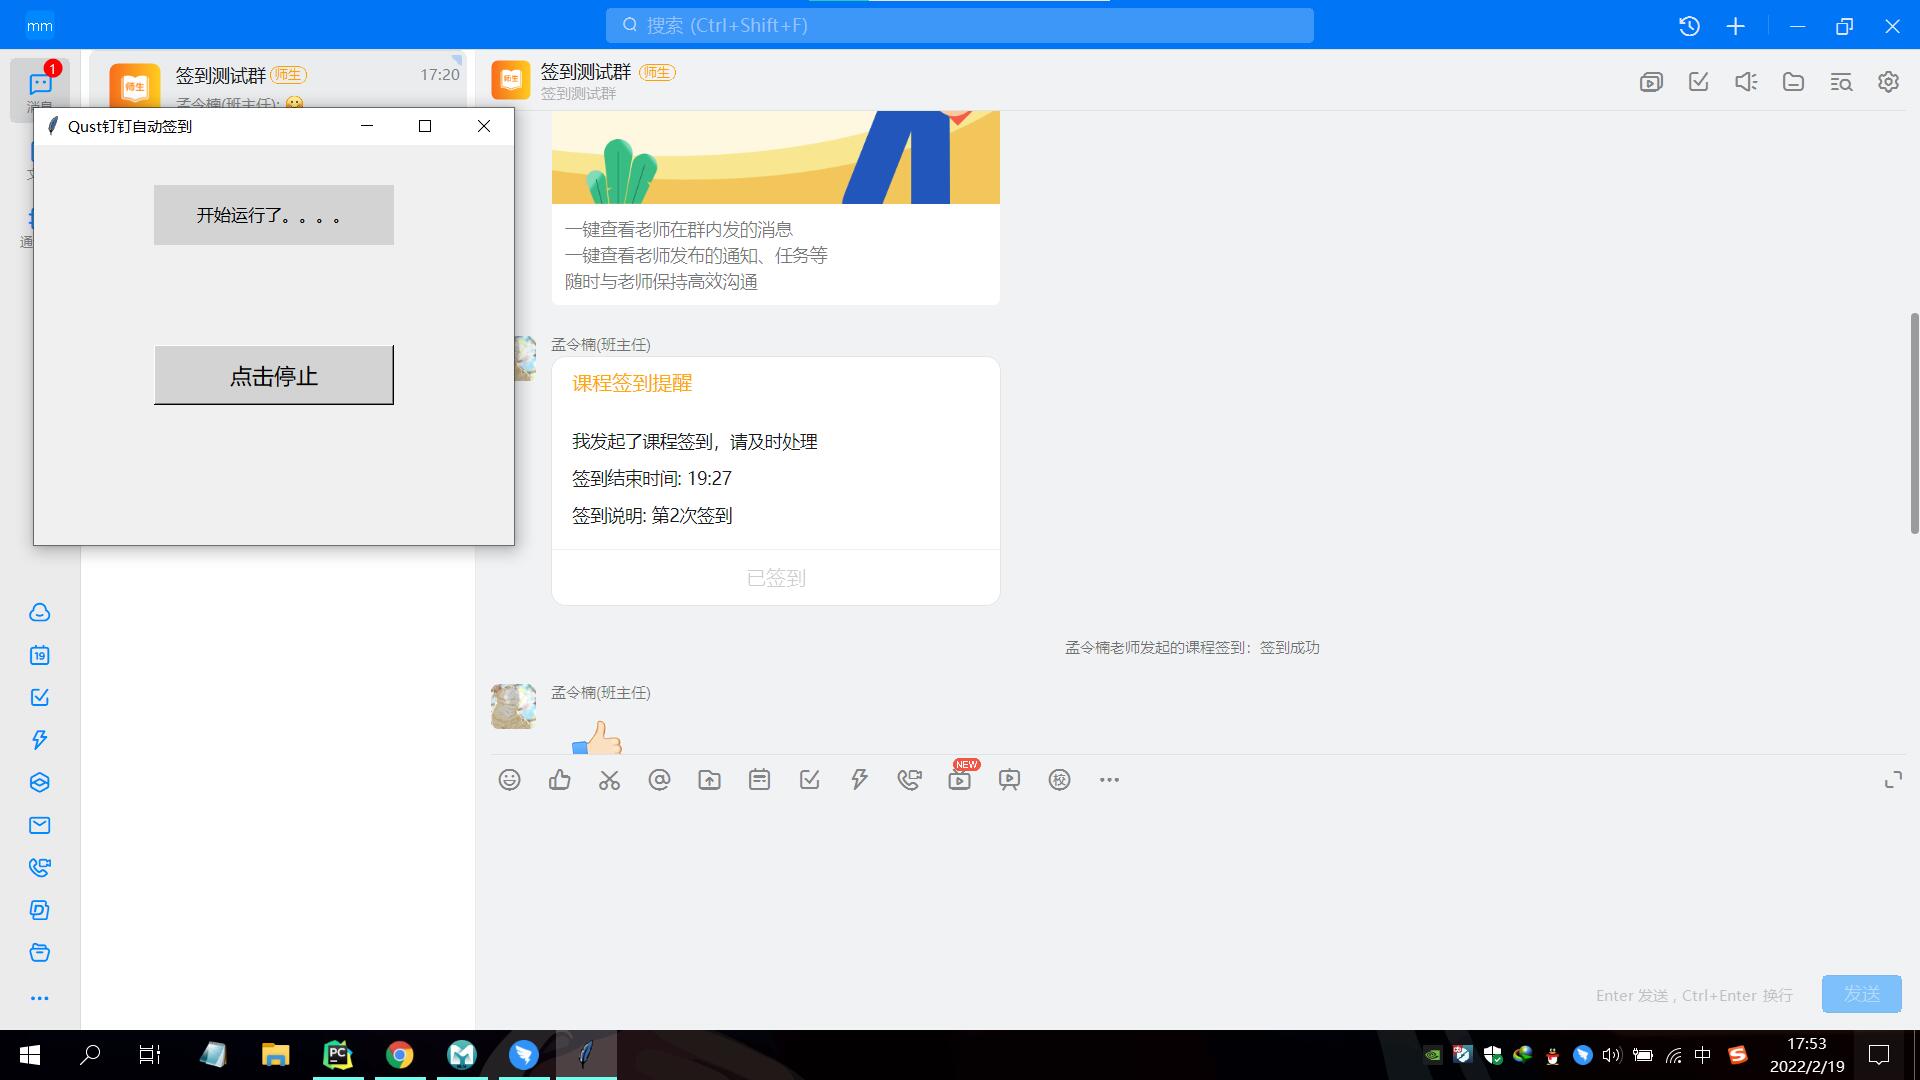
def method2():
# print("执行了方法2")
root = tk.Tk()
root.title('Qust钉钉自动签到')
root.geometry('480x400')
index = tk.Label(root, text='开始运行了。。。。', bg='#D3D3D3', font=('微软雅黑', 10))
index.place(relx=0.25, rely=0.1, relwidth=0.5, relheight=0.15)
btn1 = tk.Button(root, text='点击停止', bg='#D3D3D3', font=('微软雅黑', 13), command=sys.exit)
btn1.place(relx=0.25, rely=0.5, relwidth=0.5, relheight=0.15)
root.mainloop()
def method3():
# print("执行了方法3")
while (1 == 1):
method1()
sleep(30)#等待30s运行一次,这里你可以自己改
def thread_it(): # 多线程
thread1 = threading.Thread(target=method3)
# thread2 = threading.Thread(target=method2)
thread1.setDaemon(True)
# thread2.setDaemon(True)
thread1.start()
# thread2.start()
method2()
if __name__ == '__main__':
urllib.urlretrieve('https://s4.ax1x.com/2022/03/03/bYWMon.png','./targe.png')#这里面的地址是“立即签到”这张图片
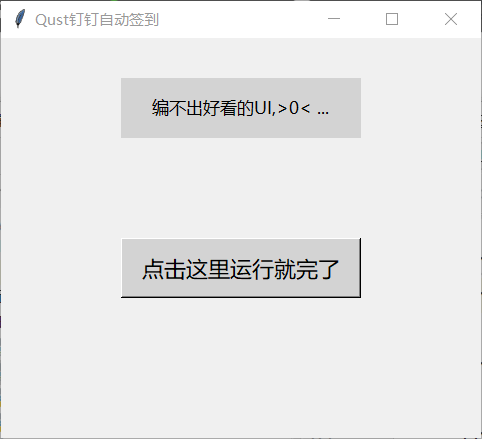
root = tk.Tk()
root.title('Qust钉钉自动签到')
root.geometry('480x400')
index = tk.Label(root, text='编不出好看的UI,>0< ...', bg='#D3D3D3', font=('微软雅黑', 10))
index.place(relx=0.25, rely=0.1, relwidth=0.5, relheight=0.15)
# 第一个按钮
btn1 = tk.Button(root, text='点击这里运行就完了', bg='#D3D3D3', font=('微软雅黑', 13), command=lambda:[root.destroy(),thread_it()])
btn1.place(relx=0.25, rely=0.5, relwidth=0.5, relheight=0.15)
root.mainloop()期间踩过的坑有:
- 1.鼠标点击后会停留在"立即签到"上,遮挡部分字体,影响识别时间,于是设置了点击后鼠标位置自动左移500个像素,遂解决,识别速度嘎嘎快。
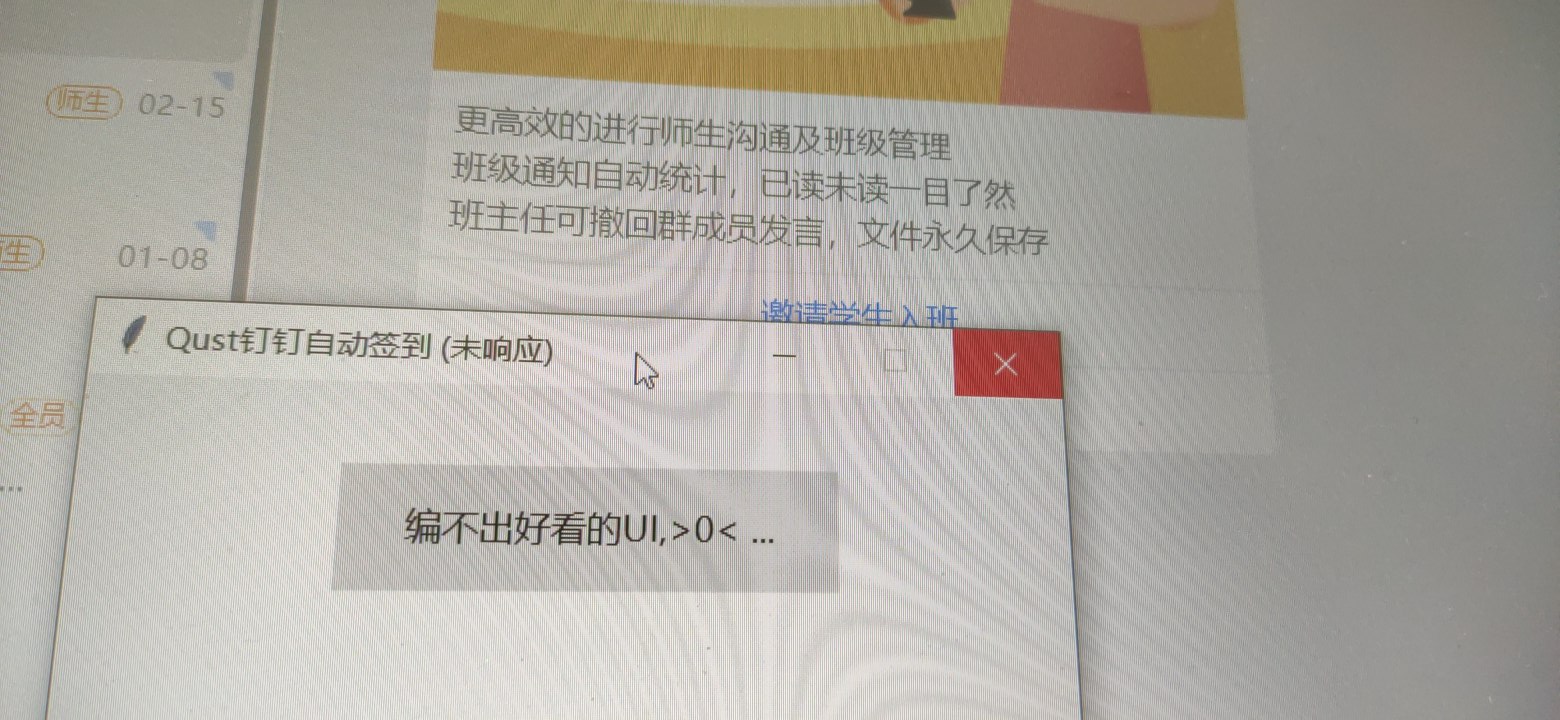
- 2.tkinter 在默认运行主线程时会等待子线程运行完毕才继续,使得程序无响应(如上图),引入多线程后解决。
结果:
效果令人满意,当天晚上开了一个小群,不间断的发送了几十条签到,在程序不间断运行6个小时后依然能准确搞定。
附上截图: